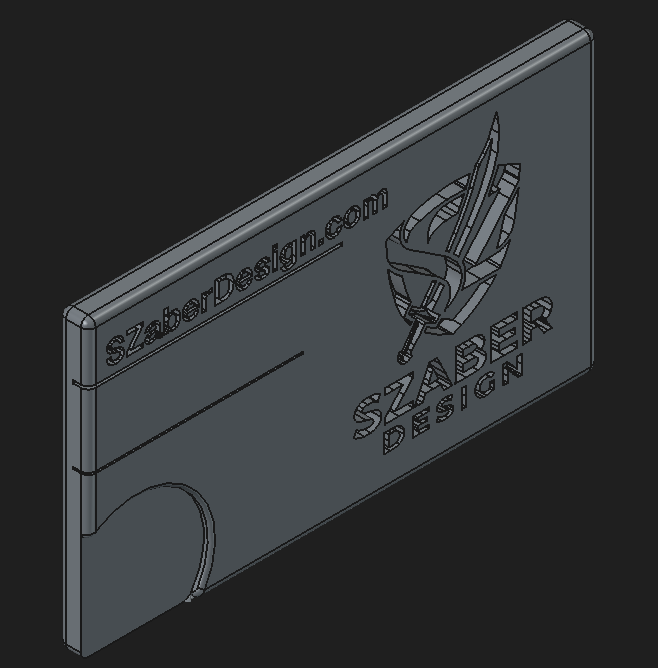
What better way to launch a 3D printing portfolio than with a business card that is the portfolio?
Welcome to SzaberDesign
To kick things off, I’m starting a new series: Print Review. I’ll be breaking down the exact mechanics, failures, and fixes behind these designs. If you’ve tackled similar builds, drop your solutions in the comments.
For now, let’s break down the two immediate design hurdles for V1:
The Logo: How to get a simple image onto a card
Two-Tone Leveling: Two colors, The background and foreground
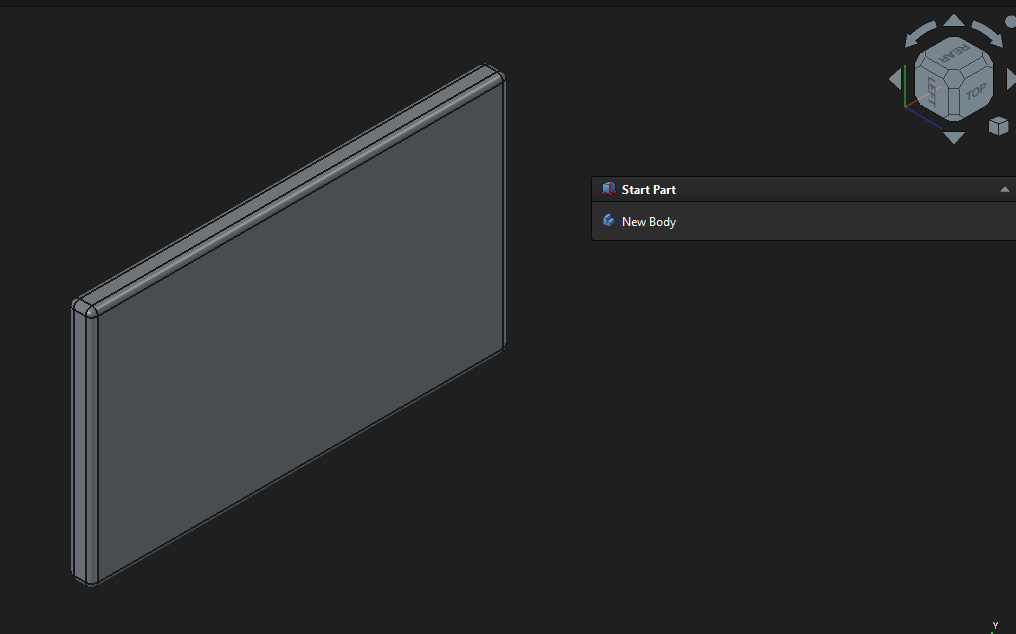
Beginning in my favorite open-source Computer-Aided-Design (CAD) software, FreeCAD, the project starts with a rectangle, an extrusion/pad, throw in a few fillets (curves) and bang.
A neat, blank business card ready for information.
The Logo
One of my favorite parts to learn in this build.
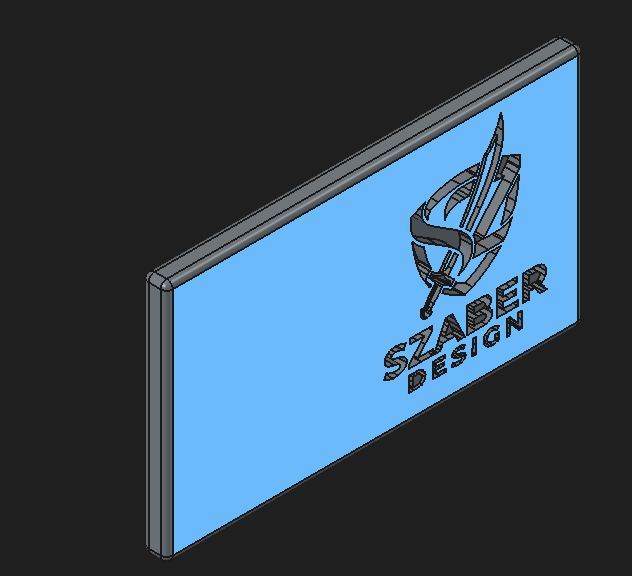
Objective: Get an image into FreeCAD and create a dynamic hole or pocket into the model.
Here’s how I did it: Start with an image, preferably something with clear lines (like a logo), and upload it to a vector-graphics editor. Keeping with the open-source theme, I recommend Inkscape.
With the uploaded picture in Inkscape, right-click and select Trace Bitmap.
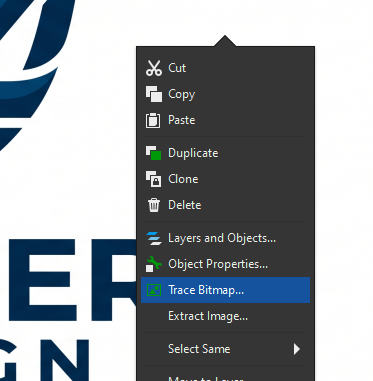
Inside the new window, click “Apply”. And finally, Export as [.svg] (this is important!).
Now you should be ready to upload in FreeCAD where you will get a nice clean cutout of the image. (a few more steps here but let me know if you would like me to explain it)
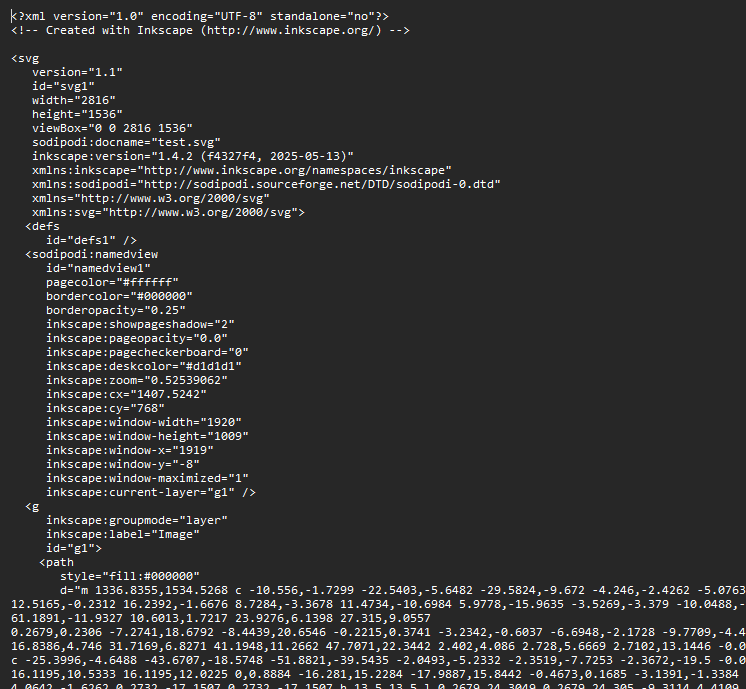
SIDE NOTE: The [.svg] is so important for this, it essentially takes your image and turns it into a mathematical text document. When you get some time check it out, right click and open a [.svg] image inside notepad and you will get a bunch of numbers. Its a numerical representation of the image, pretty cool!
Two-Tone Leveling
After cutting the logo and little design flavorings. We can begin thinking about the color for the card. In this case, black and white.
A surprisingly easy way to implement this is to change out the filament halfway through a print, which you can do through the slicing software for your 3D printer. My go-to software right now, which is also open-source, is Bambu Studio from Bambu Labs.
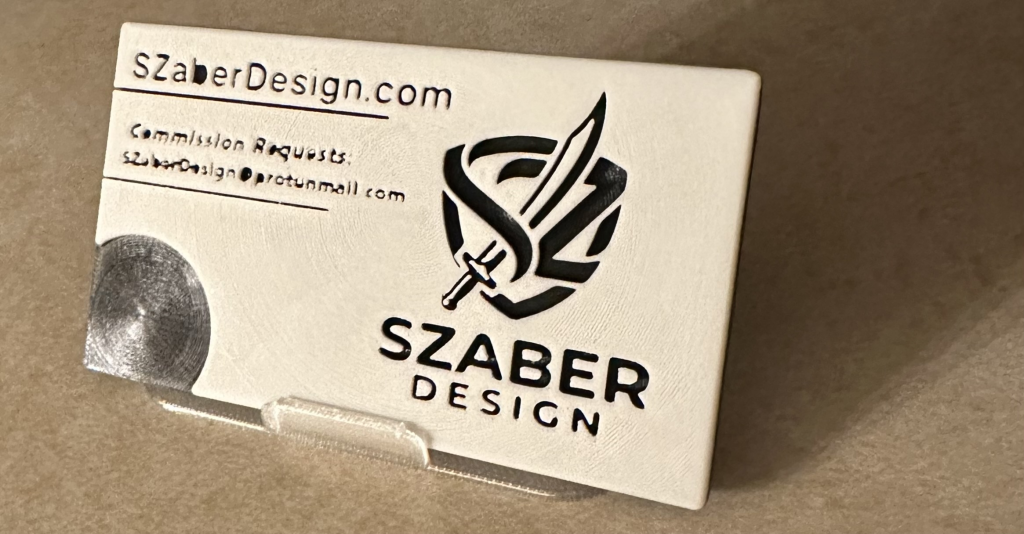
A solid first build for a business card!
Lessons Learned
One of the biggest issues with the card is the left-hand lettering and how unclear it is. Several factors contributed to this.
- Size: The card went from 100mm to 200mm along with managing the width of the email address all during slicing, it should never be edited so much during this step ideally.
- Placement: I never placed a snapping grid for the letters inside the CAD software, alignment was a matter of how close it looked to the eye (see how the ‘C’ in Commission and ‘S’ in the email are off)
- Nozzle: a 0.4mm nozzle required the lettering to be big enough so that it is legible and strong.
- Spreadsheets: The “spreadsheet discipline” only the card itself had dimensions not the letters etc. Not very professional (although all my prints now have drastically increased in this regard)
Let me know in the comments if you have made anything similar before! Thanks for reading!
Leave a Reply